A Weekend Warrior’s Renovation: Demolition Man – Episode 4
This post is the fourth installment in a series following one weekend warrior’s full bathroom remodel. The series will cover a range of topics and projects from the perspective of a proud homeowner and DIY enthusiast, not a licensed contractor. Always remember that checking applicable building, plumbing, electrical, and other codes is critical to ensure safety, function, and increased value in your home.
A Recap of the Bathroom Remodel Demolition Process
The demolition phase is complete on the Weekend Warrior’s main bathroom remodel. Here’s a recap of what it took to get there.
- Disconnected faucet and toilet supplies.
- Cut out p-traps and covered the stubbed out drain pipes with flexible caps.
- Removed old vanity top and base.
- Tip: cut out manageable sections with a reciprocating saw and use a 10 lb. sledge hammer to knock sections free.
- Tip: stuff the opening with plastic sheeting or contractor trash bags (easy to remove later) and then generously seal off the flange with duct tape to prevent gases and odors from escaping.
- Tip: while it’s tempting to swing freely with a sledge hammer, don’t! There’s structure, electrical and plumbing behind those walls. Open up a section between studs with a framing hammer and then pull the wallboard off in large chunks. This also lessens dust dramatically!
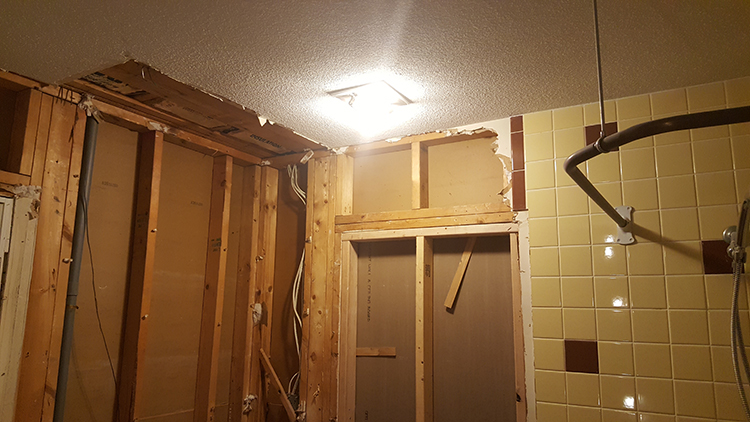
We're taking the bathroom walls down to the studs.

The old and outdated bathtub will soon be gone.
- Tip: get your sledge hammer out and start smashing. Breaking the tub into smaller pieces is the only way for a weekend warrior to remove one of these on his/her own. Even small pieces will be very heavy, so don’t overfill your barrel and make more trips to the dumpster to save your back. Also, be careful not to cut yourself on porcelain chips or iron shards - this stuff will be sharp.
- Tip: using the same technique as the vanity, cut through members with a reciprocating saw and then knock free from other framing using the sledge hammer.
- Tip: I planned this renovation for warm weather, so I had my heating contractor drain down all zones and the boiler before demolition. There will be no water or pressure in the heating lines until after the new panel radiator is piped.
- Tip: I did this last because finished flooring is a lot easier to sweep, vacuum and mop than a bare subfloor.
Demo always leaves me sore, but it is low stress if you are careful about safety, structure, plumbing, electrical and cleaning. Always be cleaning! If you wouldn’t eat your breakfast in there tomorrow, then you have more cleaning to do tonight. I leave a HEPA-rated air purifier running in the room overnight during demo and construction, changing filters regularly, and the space is always sealed off from the rest of the home to contain dust and debris.

Happy wrecking!
Check back soon for more installments. In the meantime, browse the Riverbend Home site for more advice, ideas and products for your own bathroom remodel.